 |
| QR Code created at qrartist.net |
First select the content type for where the QR code will send the user. There are many possibilities for where the QR code will send the person scanning: website, send an SMS, e-mail address, contact card, and a calendar event. After selecting the content press the green 'generate' bar at the top right.

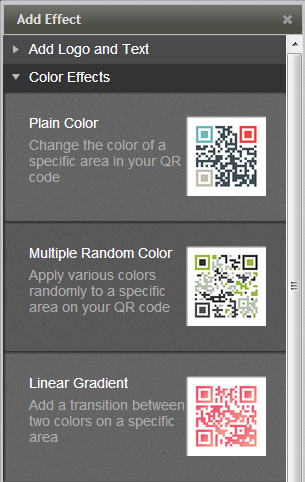
Now the QR code should just be black and white. Start adding effects to your customized QR code by going to the tab on the right hand side "Add effects from the effect library" and select Linear Gradient. For the linear gradient try to select two colours that blend nicely together ie. Black and Orange may not look the greatest unless you are going for a Halloween theme. Using a darker colour to lighter colour is also a good idea to make the blend more beautiful.

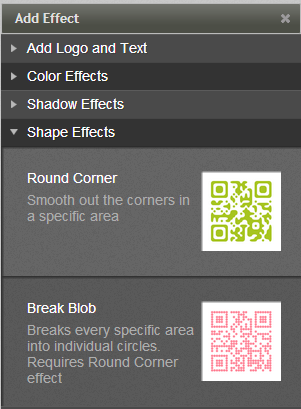
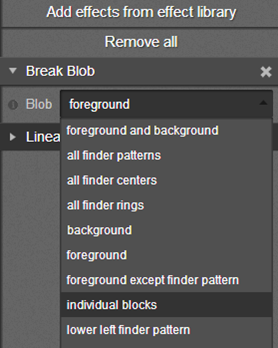
Under the Shape effects category, select the break blog effect. At first it will change the whole QR code to the break blog effect. If you just want certain parts to have the break blog effect you can manage that. To make the break blog effect only work on some areas of the QR code change the blog as demonstrated below. In this example the 'individual blocks' was chosen.

Now continue adding more effects in a similar fashion as the effects demonstrated above. Select the finder substitution effect and select one of the images already provided by QR Artist in the image library. The last few effects to complete the QR code similar to the one showcased at the top right corner is to add in the shadow effects 'Inner shadow' and 'Drop Shadow' and the 'Round Corner' effect. There is also the option to add logos and texts. This can be an effective way to provide a call to action for the user by saying 'Scan for more info' or if you are having a contest via QR codes 'scan to win'. Please leave a comment if you have any questions on QR codes or if you want a certain QR code to be demonstrated next time!


No comments:
Post a Comment